The Ultimate Guide to Vermicomposting: Turning Kitchen Scraps into Garden Gold
You're in the right place if you've ever wondered how to turn your kitchen scraps and organic waste into nutrient-rich compost for your plants. Welcome to the world of vermicomposting, where earthworms are your secret allies in the fight against food waste and the quest for healthier gardens. In this comprehensive guide, we will take you through the step-by-step process of setting up your very own vermicomposting bin and explore various aspects of this eco-friendly and educational journey.
Step 1: Choosing the Right Container
The first crucial step in your vermicomposting adventure is selecting the right container. Your choice of container will affect the efficiency and success of your vermicomposting operation. Here are a few popular options:
Hungry Bin & Indoor Worm Bucket: The Hungry Bin is a game-changer, a smart composting system that effortlessly transforms organic waste into top-quality fertilizer for your garden. The Indoor Worm Bucket turns food scraps into fertilizer in just 1 square foot. It's very beginner-friendly and can be kept in the kitchen for easy access.
Plastic Storage Bin: These bins are readily available and cost-effective. Opt for a container with a lid to maintain moisture and keep unwanted pests out. A bin approximately 18-24 inches in length, 12-18 inches in width, and 12-18 inches in depth should work well for beginners.
Wooden Worm Bin: For a more natural and aesthetically pleasing option, consider building or buying a wooden worm bin. Wooden bins provide good insulation for your worms and can blend seamlessly with your garden.
Once you've chosen your container, it's time to move on to the next step.
Step 2: Preparing the Bedding Materials
Your worms need a comfortable and supportive environment to thrive and do their job effectively. Vermicomposting bedding serves as a habitat and carbon source for composting worms.
Here are the materials you'll need:
Shredded Newspaper or Cardboard: Tear newspaper or cardboard into small strips or pieces. Avoid using glossy paper or colored ink, as they may contain toxins harmful to your worms.
Coconut Coir: This is an excellent alternative or addition to newspaper bedding. Coconut coir is an environmentally friendly, moisture-retaining material made from coconut husks.
A Bit of Soil: Adding a small amount of garden soil or finished compost helps introduce beneficial microorganisms to the bin.
Water: Moisten the bedding materials until they have the consistency of a wrung-out sponge. Ensure it's not too soggy, as worms need oxygen too.
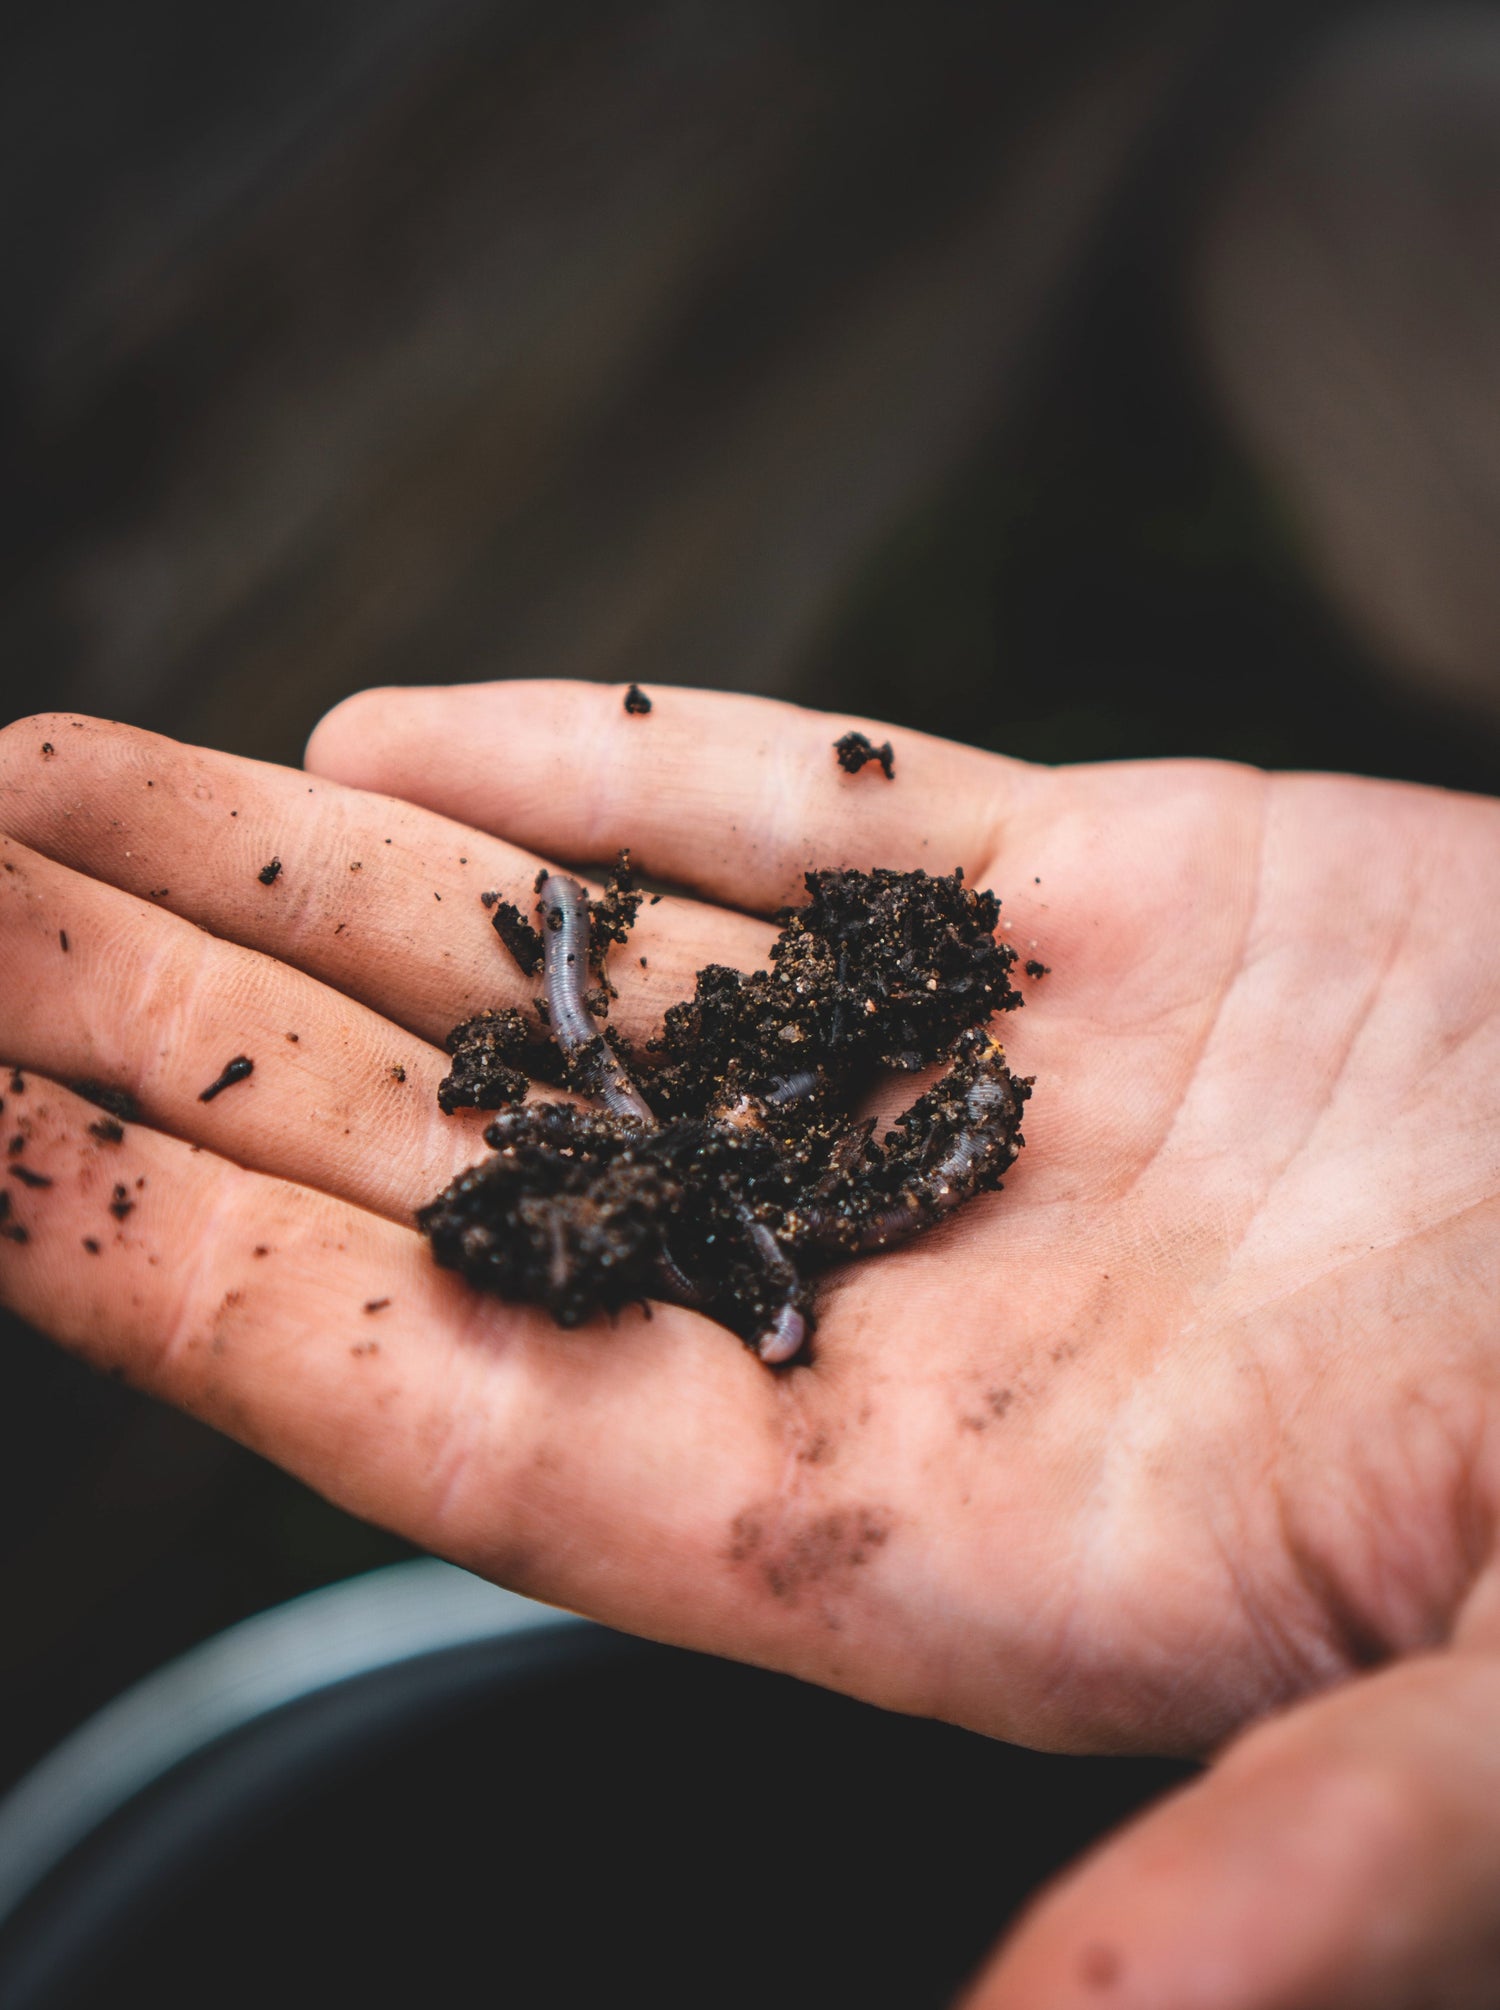
Step 3: Choosing the Right Earthworm Species
Not all earthworms are created equal when it comes to vermicomposting. Selecting the right species for the job is essential. The primary species used in vermicomposting are:
Red Wigglers (Eisenia fetida): These worms are the rock stars of vermicomposting. They're voracious eaters, reproduce quickly, and thrive in the confined space of a worm bin, making them the ideal choice for beginners.
European Nightcrawlers (Eisenia hortensis): Slightly larger than red wigglers, European nightcrawlers are versatile and can work in various conditions, including outdoor composting.
Indian Blue Composting Worms (Perionyx Excavatus): These worms have rapid growth in optimal temperature conditions and are highly effective composting worms, especially in warm climates.
If you are looking to up-level your compost? Get a combo of all three worm types. Red Wigglers, European Nightcrawlers, and Indian Blues together, this trio will supercharge your composting process and soil health. Each worm in this dynamic trio complements the others, ensuring a comprehensive and efficient composting process. However, this combination may require some advanced worm knowledge to maintain.
With your bedding prepared and your chosen worms in hand, it's time to introduce them to their new home.
Step 4: Introducing Your Earthworms
Place your bedding material in the container, filling it about halfway. Gently introduce your earthworms to their new digs by laying them on the bedding. They'll quickly start burrowing into their new home.
Step 5: Feeding Your Worms
Now that your worms are settled in, it's time to feed them. Worms are not picky eaters and will happily devour your kitchen scraps.
Here are a few tips on what we feed our worms:
Worm Chow: Make your bigger and healthier by feeding them this balanced nutrient and protein Worm Chow. This unique blend of grains, grasses, and other nutritional additives keeps your worms healthy and happy.
Oyster Chow: To balance pH, support our worm's health with essential calcium, and improve digestion, we use our Oyster Flour. Its use enhances the quality of worm castings, resulting in nutrient-rich vermicompost for healthier, more productive plants.
Fruit and Vegetable Scraps: Worms love apple cores, banana peels, coffee grounds, and vegetable trimmings.
Eggshells: Crushed eggshells add grit to the worm's diet, aiding their digestion.
Avoid feeding them citrus fruits, onions, garlic, and spicy foods, as these can be too acidic or pungent for your wormy pals.
Start with small amounts and gradually increase the food supply as your worm population grows. Bury the food scraps in one corner of the bin and cover them with a layer of bedding to prevent pests and odor.
Step 6: Maintenance
While vermicomposting is a low-maintenance practice, a little care, and attention can go a long way in ensuring the success of your worm bin.
Here's what you need to keep in mind:
Moisture Check: Regularly assess the moisture level in the bin. It should feel like a wrung-out sponge. If it's too dry, spritz it with water; if it's too wet, add more bedding material.
Harvesting Compost: When your bedding turns into dark, crumbly compost (usually every 2-3 months), it's time to harvest. Move the finished compost to one side of the bin, add fresh bedding and food to the other side, and let your worms migrate to the new food source. Then, remove the finished compost for your garden.
Aeration: Occasionally fluff up the bedding to ensure good air circulation. This prevents the compost from getting too compacted.
And there you have it, your very own vermicomposting setup! It's an eco-friendly way to reduce waste, create nutrient-rich compost, and give your plants a boost. Plus, it's a fun and educational experience that the whole family can enjoy. Whether you're an aspiring green thumb or someone looking to make a positive environmental impact, vermicomposting is a simple and rewarding way to do both. So, get started, and happy composting!
Remember, every vermicomposting journey is unique, so don't be afraid to experiment and learn. Enjoy the journey, and may your garden thrive with the help of your tiny, wriggly friends! By adopting vermicomposting, you're contributing to a greener planet and gaining a deeper understanding of nature's recycling system. Happy composting, and may your garden flourish!

Leave a comment
All comments are moderated before being published.
This site is protected by reCAPTCHA and the Google Privacy Policy and Terms of Service apply.